

Mastering Longarm Quilting Techniques: Tips from Pink Dot Black
- pinkdotblackdesign
- Jul 12, 2025
- 5 min read
Updated: Oct 10, 2025
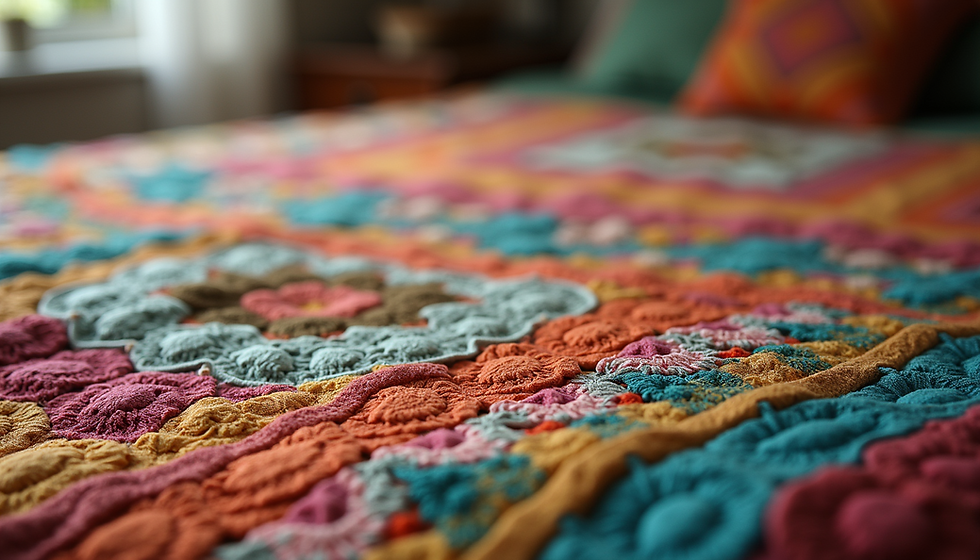
Quilting is more than just a craft; it is an art form that tells a story. For many, longarm quilting is the pinnacle of this art. It allows for intricate designs and patterns that can transform a simple quilt into a masterpiece. If you are looking to elevate your quilting skills, you have come to the right place. In this post, we will explore essential longarm quilting techniques, tips, and tricks that will help you create stunning quilts.
Longarm quilting can seem daunting at first, but with practice and the right guidance, you can master it. Whether you are a beginner or have some experience, these tips will help you improve your skills and gain confidence in your quilting journey.
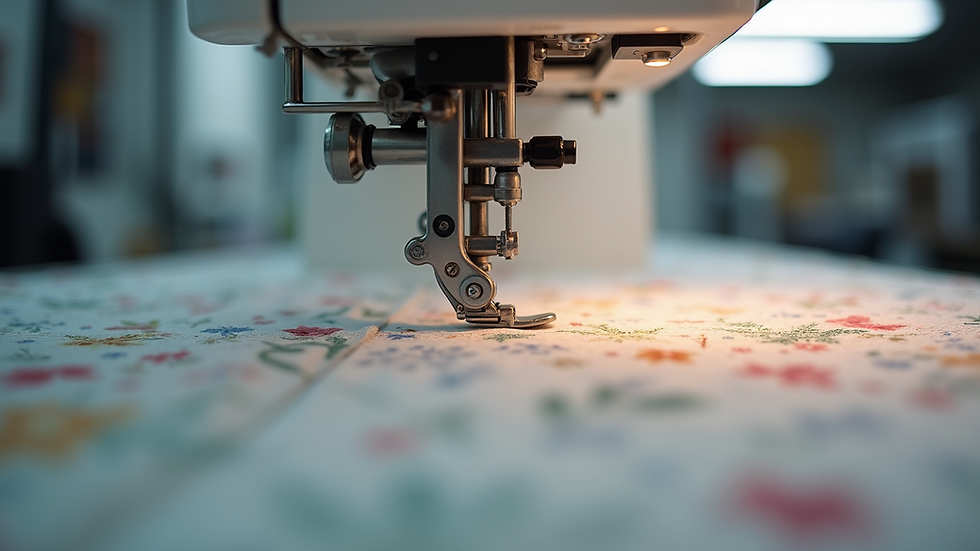
Understanding Your Longarm Machine
Before diving into techniques, it is crucial to understand your longarm machine. Each machine has its unique features and settings. Familiarize yourself with the following:
Machine Components: Know the parts of your machine, including the frame, needle, and bobbin. Understanding how each part works will help you troubleshoot issues.
Settings and Tension: Learn how to adjust the tension settings. Proper tension is vital for achieving even stitches. Test your settings on scrap fabric before starting your project.
Stitch Regulation: Many longarm machines come with stitch regulation features. This helps maintain consistent stitch length, which is essential for a polished look.
By understanding your machine, you will feel more comfortable and confident as you quilt.
Choosing the Right Fabric
The fabric you choose can significantly impact your quilting experience. Here are some tips for selecting the right fabric:
Quality Matters: Invest in high-quality cotton fabric. It is durable and easy to work with, making it ideal for quilting.
Pre-Wash Your Fabric: Pre-washing helps prevent shrinkage and color bleeding. It also removes any chemicals that may be on the fabric.
Consider the Weight: Heavier fabrics can be more challenging to quilt. If you are a beginner, start with lighter fabrics to build your skills.
Choosing the right fabric will set the foundation for a successful quilting project.
Preparing Your Quilt Sandwich
A well-prepared quilt sandwich is essential for achieving beautiful results. Here’s how to prepare it:
Layering: Start with the backing fabric, then add the batting, and finally place the quilt top on top. Ensure all layers are smooth and wrinkle-free.
Basting: Use safety pins or basting spray to hold the layers together. This prevents shifting while you quilt.
Trimming: Trim any excess fabric from the edges to avoid bulk. This will make it easier to maneuver your quilt through the machine.
A properly prepared quilt sandwich will make your quilting process smoother and more enjoyable.
Mastering Basic Quilting Techniques
Now that your quilt is ready, it’s time to dive into some basic longarm quilting techniques. Here are a few to get you started:
1. Straight Line Quilting
Straight line quilting is one of the easiest techniques to master. It involves sewing straight lines across your quilt. Here’s how to do it:
Use a Walking Foot: This foot helps feed the fabric evenly, preventing puckering.
Mark Your Lines: Use a fabric marker to draw lines on your quilt top. This will guide your stitching.
Practice: Start with a few practice lines on scrap fabric to get comfortable with the motion.
2. Free-Motion Quilting
Free-motion quilting allows for more creativity and intricate designs. Here’s how to get started:
Lower the Feed Dogs: This allows you to move the fabric freely in any direction.
Practice on Scrap Fabric: Before working on your quilt, practice different designs on scrap fabric to build your confidence.
Start Simple: Begin with basic shapes like loops or swirls before moving on to more complex patterns.
3. Echo Quilting
Echo quilting creates a beautiful layered effect. Here’s how to do it:
Choose a Design: Start with a simple shape, like a circle or flower.
Stitch Around the Shape: Begin stitching around the shape, gradually increasing the distance between each line.
Keep It Consistent: Aim for even spacing to create a polished look.
These basic techniques will help you build a strong foundation in longarm quilting.
Advanced Techniques to Explore
Once you feel comfortable with the basics, you can explore more advanced techniques. Here are a few to consider:
1. Custom Quilting
Custom quilting involves creating unique designs tailored to your quilt. Here’s how to approach it:
Plan Your Design: Sketch your design on paper before starting. This will help you visualize the final product.
Use Templates: Consider using templates for intricate designs. They can guide your stitching and ensure consistency.
Experiment: Don’t be afraid to try new designs. Custom quilting allows for creativity, so let your imagination run wild.
2. Pantograph Quilting
Pantograph quilting uses a printed design that guides your stitching. Here’s how to use it:
Select a Pantograph: Choose a design that complements your quilt.
Set Up Your Machine: Load the pantograph onto your machine and adjust the settings accordingly.
Follow the Lines: Stitch along the printed lines, ensuring even spacing and consistent stitching.
Pantograph quilting is a great way to achieve intricate designs without the stress of free-motion quilting.
Troubleshooting Common Issues
Even experienced quilters encounter challenges. Here are some common issues and how to troubleshoot them:
Puckering: If your quilt is puckering, check your tension settings. Adjust them as needed and ensure your fabric layers are smooth.
Skipped Stitches: This can occur if your needle is dull or if the tension is too tight. Replace the needle and adjust the tension to resolve the issue.
Thread Breakage: If your thread keeps breaking, check for any snags in the fabric or machine. Ensure you are using the correct thread type for your project.
By knowing how to troubleshoot common issues, you can save time and frustration during your quilting process.
Finishing Touches
Once you have completed your quilting, it is time to add the finishing touches. Here are some steps to consider:
Trimming: Trim any excess batting and backing fabric to create clean edges.
Binding: Choose a binding fabric that complements your quilt. Attach it carefully to finish the edges.
Labeling: Consider adding a label to your quilt. This adds a personal touch and can include details like the date and occasion.
These finishing touches will elevate your quilt and make it truly special.
Embracing Your Quilting Journey
Quilting is a journey filled with creativity and self-expression. As you master longarm quilting techniques, remember to enjoy the process. Each quilt tells a story, and your unique style will shine through in your work.
Take the time to experiment with different techniques and designs. Join quilting communities to share your progress and learn from others. The more you practice, the more confident you will become.
In the end, quilting is not just about the finished product; it is about the joy of creating something beautiful. So grab your longarm machine, choose your fabric, and let your creativity flow. Happy quilting!

Comments